
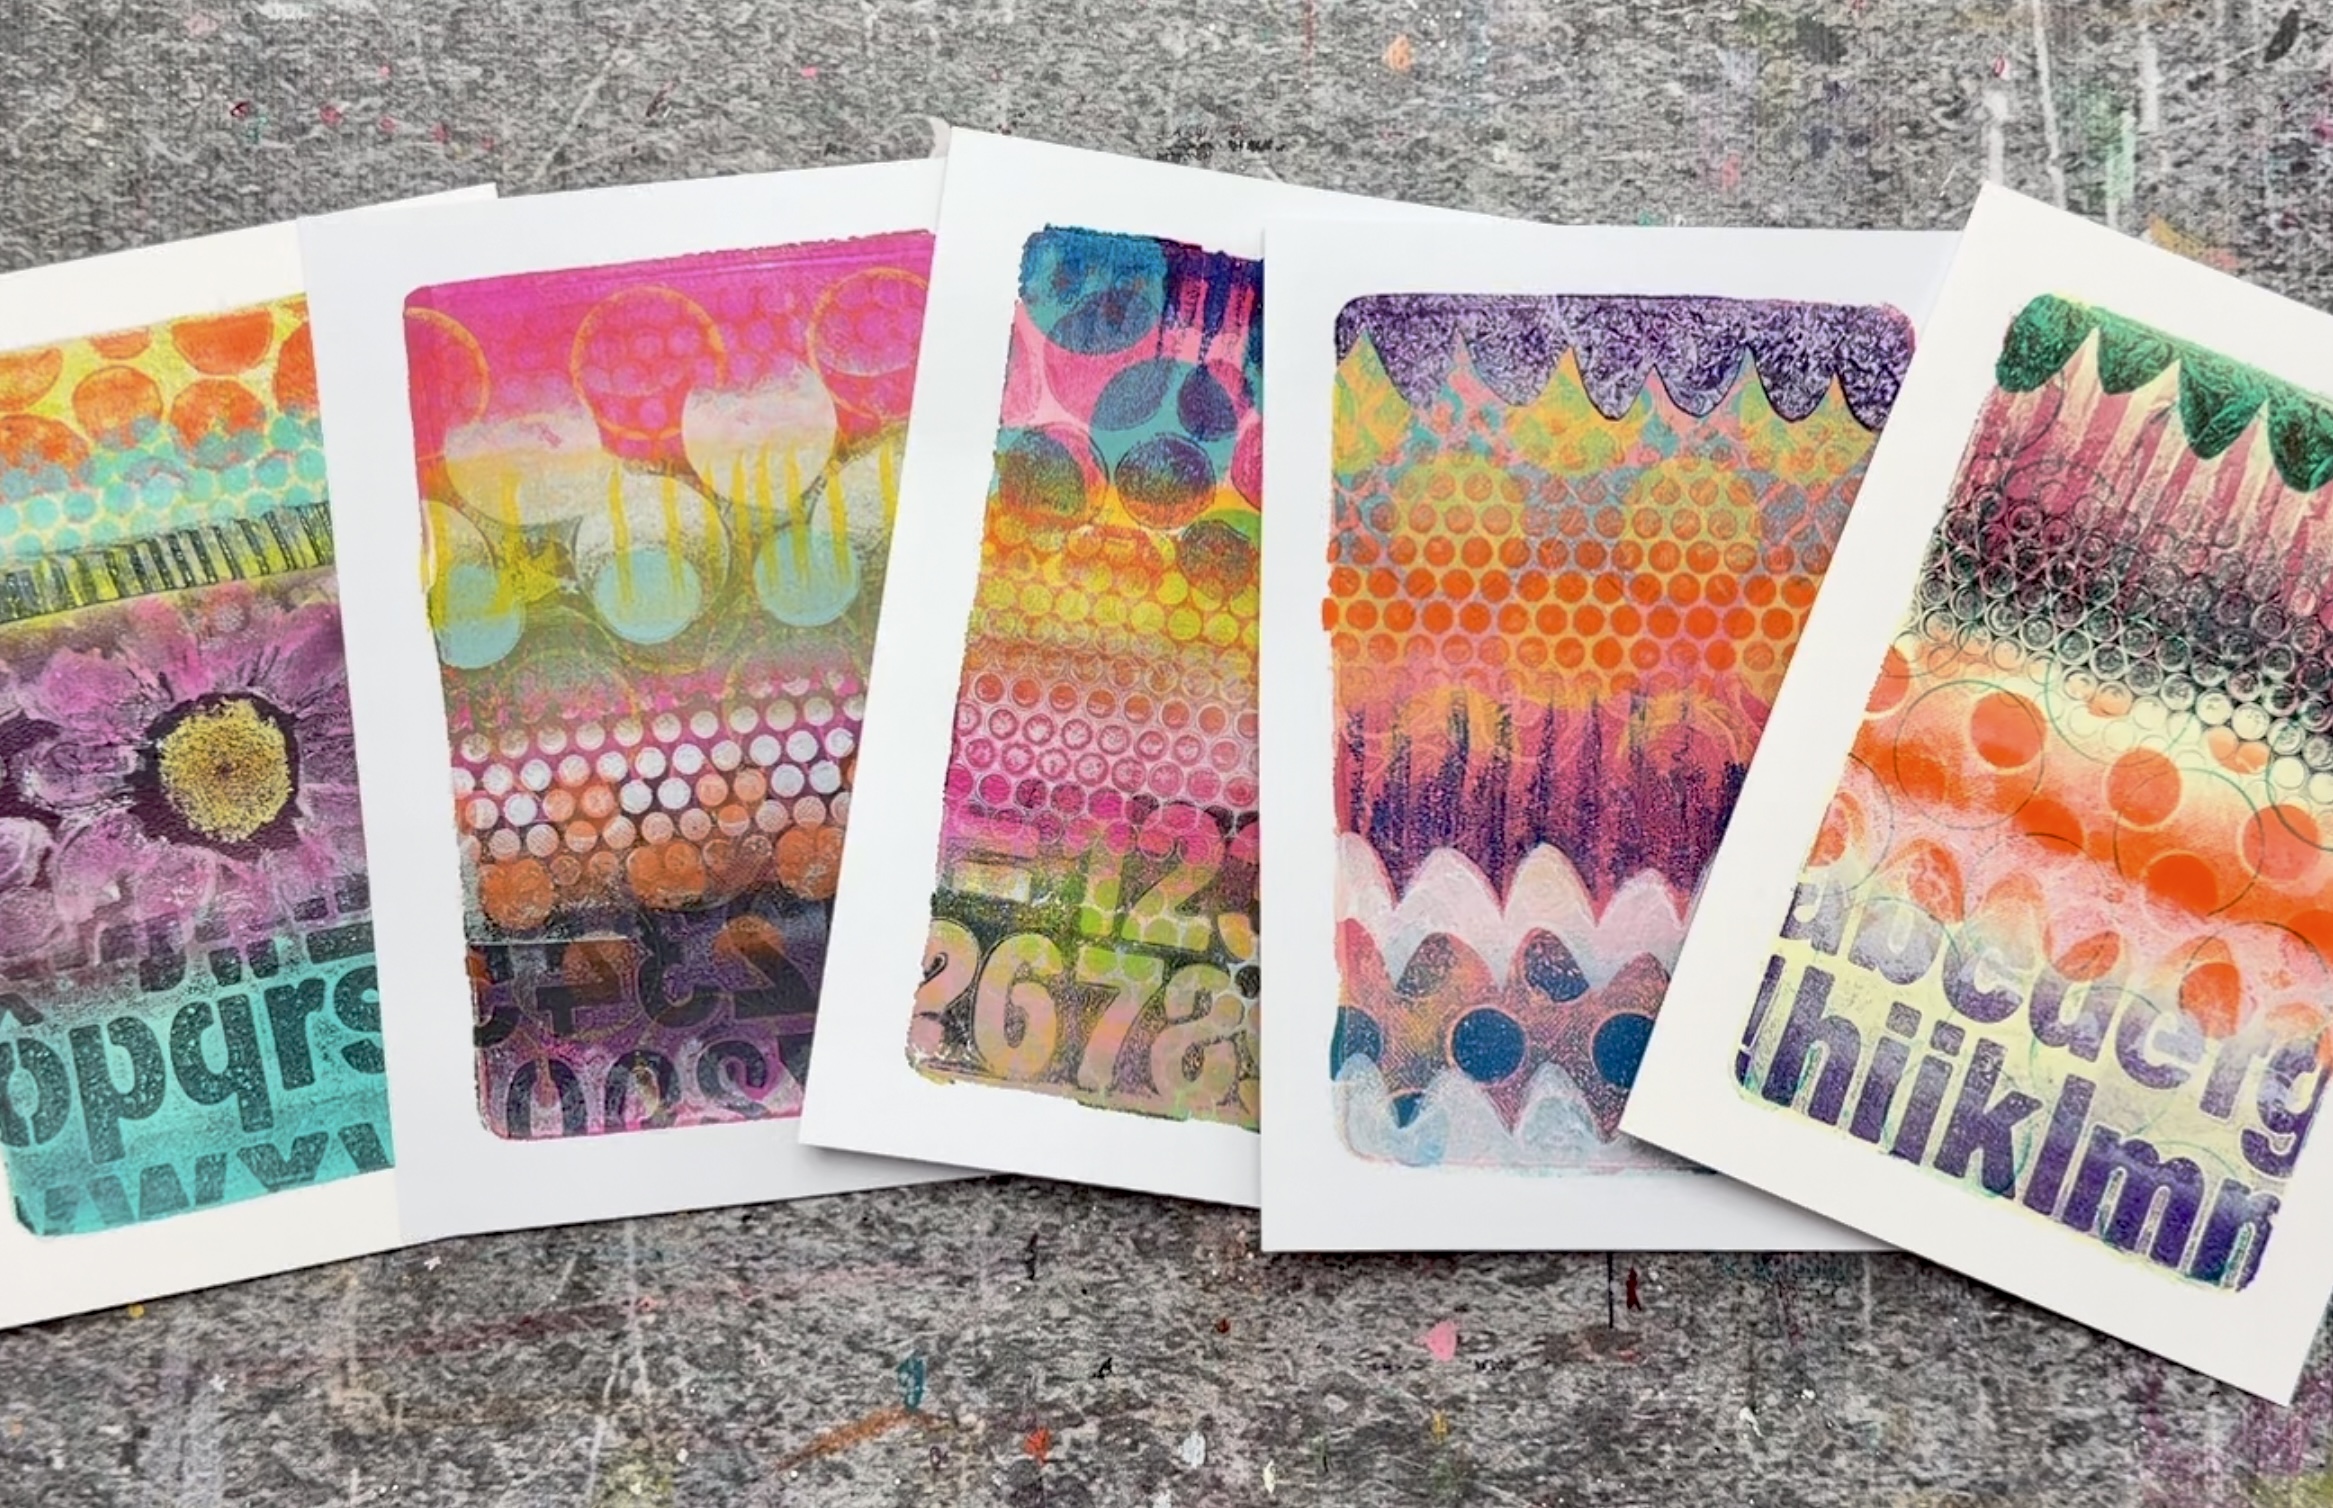
Hi! Welcome to the Gelli Arts® blog, it’s Birgit here today with a colorful new project.

I love building up layers on a gel plate. There is something so exciting about starting with a simple background and then adding more and more color, texture and pattern until the print becomes a little piece of art.
This is where the 5”x7” Perfect Borders Set comes in really handy. It allows you to create your print inside a defined area while keeping a clean white border around it. And of course, you can still build as many colorful layers as you like inside that border!
In this video, I will show you how I use the 5”x7” Perfect Borders Set to create a richly layered gel print using acrylic paint, stencils, texture tools and a few fun found objects.
I like to start my prints with a solid background so I never end up with uncolored areas- even if there are many open parts in the textures of my next layers. To make it easier on yourself, you can start with light colors and print darker colors on top. When you are more experienced and know the opacity qualities of your paints, you can be more experimental with your color order.
Roll out some acrylic paint, line up the placement tool with the gel plate, then line up the paper with the placement tool. When your paper is in place, you can move the tool away from the plate and rub your paper. Mark your paper at the top to be sure to always place the paper the right way on your plate.


Now you can start creating layers. Roll out some paint – you can cover the entire plate, but you can also choose to only use specific areas. Then – create some texture in the wet paint. You can use all kinds of tools, for instance, found tools. Try crumpled tissue paper and cardboard pieces or use (handmade) foam stamps, stencils, etc.


Keep adding layers in contrasting colors and a variety of textures. And remember to use the placement tool for every print you make to be sure to be printing the right area. To determine where exactly on the plate to roll out the paint, you can place the print next to the plate.
If you want to add extra color to a layer before pulling the print, (for instance if you print with flowers and want to color the open areas), then you have to let the paint dry before adding the extra color.
When the paint is completely dry- you can add acrylic paint with a brush or a sponge. But, you can also use PanPastel and apply it with a makeup sponge. PanPastel gives a very nice and soft colored look.


To pick up dried paint without adding additional color to the print, you can use a matte medium. Roll it out the same way as acrylic paint. Place the paper on top and let everything dry before pulling up the print. Matte Medium usually takes a little bit longer than acrylic paint to dry.

This way you can keep adding and adding to your print as many layers as you like until you’re satisfied with your print. Layers that don’t come out the way you hoped for can simply be covered with a new layer.

And here is my finished print! I love how all the different layers have come together while the clean white border keeps everything looking fresh and contained.

But of course, you don’t have to stop with one print. Once you start experimenting with the Perfect Borders Set, you will probably want to make more and more!
Try different color combinations, different stencils and different found objects. Change the order of your layers. Use light colors over dark ones, or dark colors over light ones.
And remember: you don’t have to know what the finished print will look like before you start because you can always adjust.
That is part of the magic of gel printing!

I hope you enjoyed this tutorial and that it inspires you to experiment with the 5”x7” Perfect Borders Set and create your own colorful, layered prints.
We would love to see what you create, so please share your prints and don’t forget to tag @gelliarts and use #gelliarts so we can find your posts!
Happy printing and have a lovely day! Make it colorful 🌈 -Birgit
Materials:
Gelli Arts® 5”x7” Perfect Borders Set or any size gel plate with a mini placement tool
Paper suitable for gel printing – I use 200gr smooth copier paper
Acrylic paints — I used a variety including Amsterdam, Liquitex Basics and ARA
(Handmade) texture tools and found/recycled objects, artificial flowers, stencils etc.
Matte Medium – Liquitex
PanPastel
Copier paper

FIND US:
FOLLOW US:
Sign up to receive emails + special offers from Gelli Arts®