
Hello! It’s Drew here with a fun little project that will give you a cute little book, perfect for a personalized gift, a small journal, or just an excuse to use your Gelli plate!

Let’s make a book using one sheet of paper and a Gelli® plate!

First, grab a large sheet of paper. I’m using a piece of drawing paper that’s 18×24” / 45.7x61cm.

Start printing on the paper using the Gelli plate. Just print wherever you want. There’s no need to plan. The goal is to cover the sheet of paper.

Using a smaller Gelli® plate can be beneficial because you can pick up the plate and place it on the paper. This way you can see where you are printing.

Don’t forget about stencils and masks!

Once you are finished printing, fold the paper in half with the printed side out. A bone folder can help crease the paper.

Then fold both edges in to the center fold. You will now have three folds.

Next, use a ruler to measure every third and mark with a pencil. Then fold at the marks, folding with the printed side towards you. Repeat with the other third. You will have two folds.

Turn the paper over to the white side so you can easily see the folds. Mark with the horizontal folds meet the two outer vertical folds.

Then cut from the edge to the marks.

You will now have a zigzag.

Zigzag fold the pages.

You can now add collage, paint, marker, ink… anything you’d like to the book.
If you’d like, you can glue the pages together. You don’t need to, but it does make the book sturdier.

Use another piece of Gelli® printed paper to create a cover. Just cut to the measurement of the book adding a bit extra for the spine.
Glue the end papers to the cover. I don’t glue the spine in order to allow the book to lay flat.

Trim the cover and end papers.

Congrats… you now have a book you made from one piece of paper!
Happy Holidays!
-Drew
Materials and tools:
- Gelli plate… any size will work
- Brayer
- Acrylic paint
- Large piece of paper… mine is 18×24” / 45.7×61 cm
- Extra paper to offload paint from the brayer
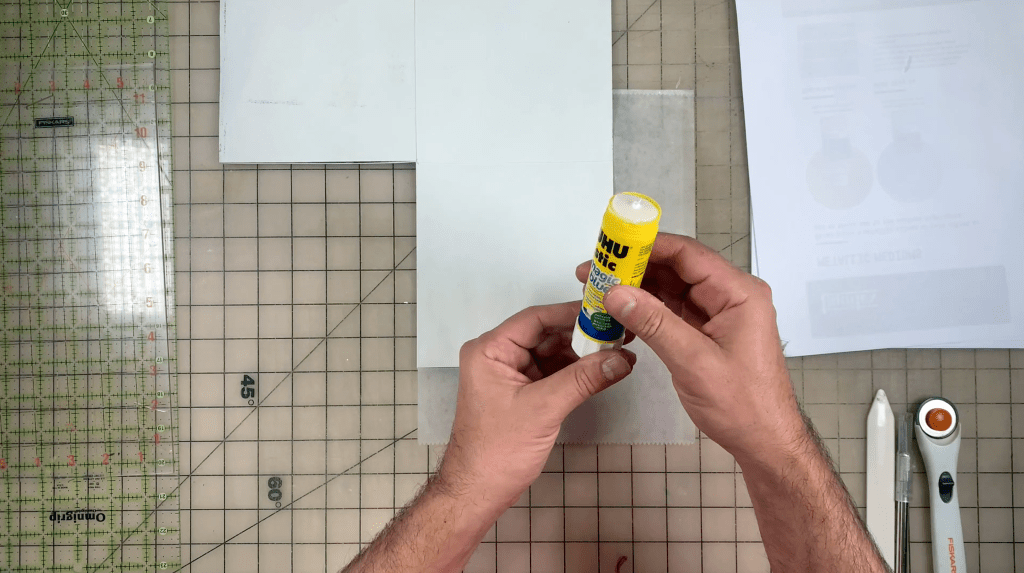
- Matte medium or any kind of glue
- Xacto knife or scissors
- Bone folder or something to use to help crease the paper
- Ruler
- A piece of paper large enough to use as a cover
Optional:
- Stencils/masks
- Magazine pages
- Collage fodder or anything extra you’d like to add to the book
- Mark making tools such as markers, paint pens, etc.
- Deli paper to protect the pages
FIND US:
FOLLOW US:
Love it!
Awesome booklet Drew. I love your gorgeous prints and clear video tutorial.
Thank you so co much, stay save and have a wonderful day.
Thanks!
Thanks for a great tutorial! I managed to make one today and love it!
Fabulous book, what magazines do you find work best for transfers?