
Hi there! It’s Marsha here today! I’m so excited because this is my 50th video for Gelli Arts®!!
When you’re just starting with gel printing, the number of different techniques, mediums and supplies you can use can appear daunting.
However, did you know you can group all of those different techniques into three basic monoprint methods, regardless of the supplies or mediums you use?
The three approaches are:
1. Subtractive/reductive
2. Additive
3. Masking
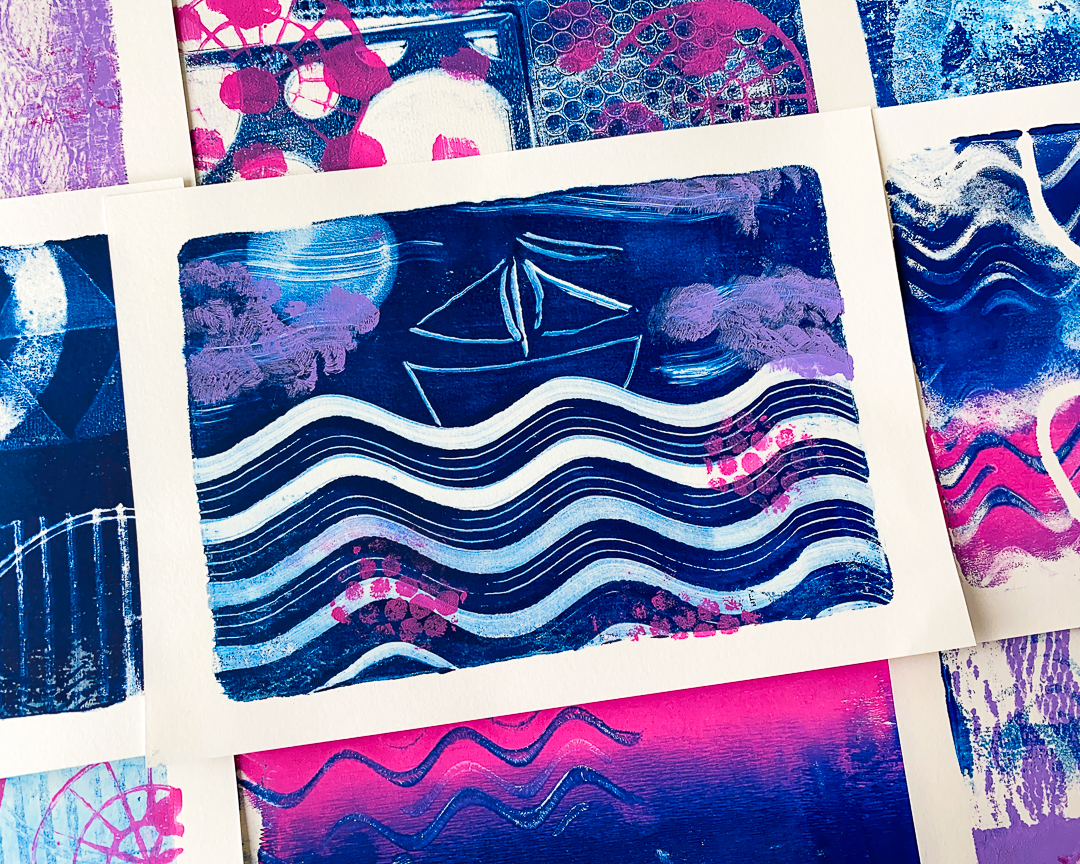
The subtractive or reductive approach is all about removing or manipulating the paint on your Gelli Arts® gel printing plate.

For this method, you start by applying a layer of paint or ink on your gel plate and then you draw into the paint, use tools, rags or fingers to remove paint and push objects into the plate to manipulate it before you pull a print.

Tools you can use to draw with: rubber-tipped shapers, q-tips, rags, brushes, fingers.
Tools that will lift paint or ink from the plate when pushed into it: texture plates, stamps, sponges, found objects, corrugated cardboard.
You can also use thin paper to remove paint or ink from the plate. It’s especially helpful when you want to print the positive part of punchinella, stencils or open-weave fabrics.

Tip: if you find your acrylic paint is drying too fast while you are still working on your design, it usually helps to add a so-called extender or retarder to the paint to increase the open time.
The additive approach is when you apply paint or ink to the plate before pulling a print.

Tools you can think of: brayers, brushes, fingers, stamps, sponges, found objects.
For the masking approach, you place a thin flat(ish) object in between the inked up surface of the gel plate and the paper.

The object doesn’t have to be a mask or a stencil. Anything that (partially) blocks the paint from transferring from the gel plate to the paper works.
Think of: feathers, leaves, rubber bands, string, punchinella, gauze, tape, masking fluid.
Of course, the fun begins when you start to combine the subtractive, additive and masking methods into one print!

You don’t have to limit yourself to acrylic paint or ink either. Once you get going, you’ll notice that the principle methods apply to all media suitable for gel plate printing.
See what you can find around the house or in nature to make unique marks and have fun trying them out with your Gelli Arts® gel plate!
Marsha.

Materials:
Gelli Arts® Gel Printing Plate 5″x7″
Gelli Arts® Mini Printing Tools
Gelli Arts® Circle Stencil 5″x7″
4″ roller
Other:
Acrylic paint
Slow dry medium
Paper (I prefer drawing paper)
Thin paper (deli paper, tissue paper, newsprint, computer paper)
Q-tip, paintbrush, rubber shaper, sponge, empty tape roll, corrugated cardboard, DIY foam stamp, found object, punchinella, open-weave fabric, foam brush, textured wallpaper, lace, rubber bands, textured fun foam, cosmetic sponge


FIND US:
FOLLOW US:
Marsha’s Instagram
Marsha’s Facebook
Gelli Arts® Instagram
Gelli Arts® Facebook
Sign up to receive emails + special offers from Gelli Arts®
I enjoy watching all that can be made on the Gelli plate
Great explanation What is the blue paint
This is an excellent summation of the three main ways of using a gel plate. Thank you very much!