

OBJECTIVE
- Students Will Be Able To (SWBAT) demonstrate the ability to work with others and create a piece of art
ESSENTIAL QUESTION
- Can students work together to create collaborative circles?
- What steps do students need to take to create a collaborative piece?
SUPPLIES
- Thick Paper, such as cardstock (white)
- Gelli Arts® printing plates
- Paint
- Rollers
- Textures
- Compasses
- Scissors
- Glue
STEP-BY-STEP
Step 1: Each child needs to draw and cut out 4 or more circles onto thick paper; this is great for math! It doesn’t matter how many different sized circles you use as long as everybody has the same (for the tiny ones you could have this ready prepared).

Step 2: Next print your circles any way you like with your gel plates. We used credit cards, combs, bubble wrap and all sorts of packaging materials- great for recycling!


Step 3: Once the children have printed their circles, they need to dry before being glued together into a “target” shape. Acrylic paint dries very fast so this shouldn’t take long.


Step 4: The children can then fold the target in half and in half again. This will make creases on the paper dividing it into 4 parts.
Step 5: Now cut each target into 4 “pizza slices”.
The children keep one quarter and then trade the other 3 with their friends until everyone has 4 different slices.
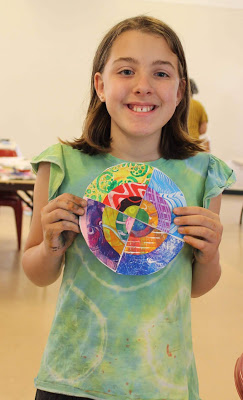
Step 6: Now glue the slices back into a circle onto some paper and you’re ready to mount them on a wall altogether. They look amazing!


INTERDISCIPLINARY TIE IN
Math – The use of math tool such as a compass allows students to practice not only measurements but also