
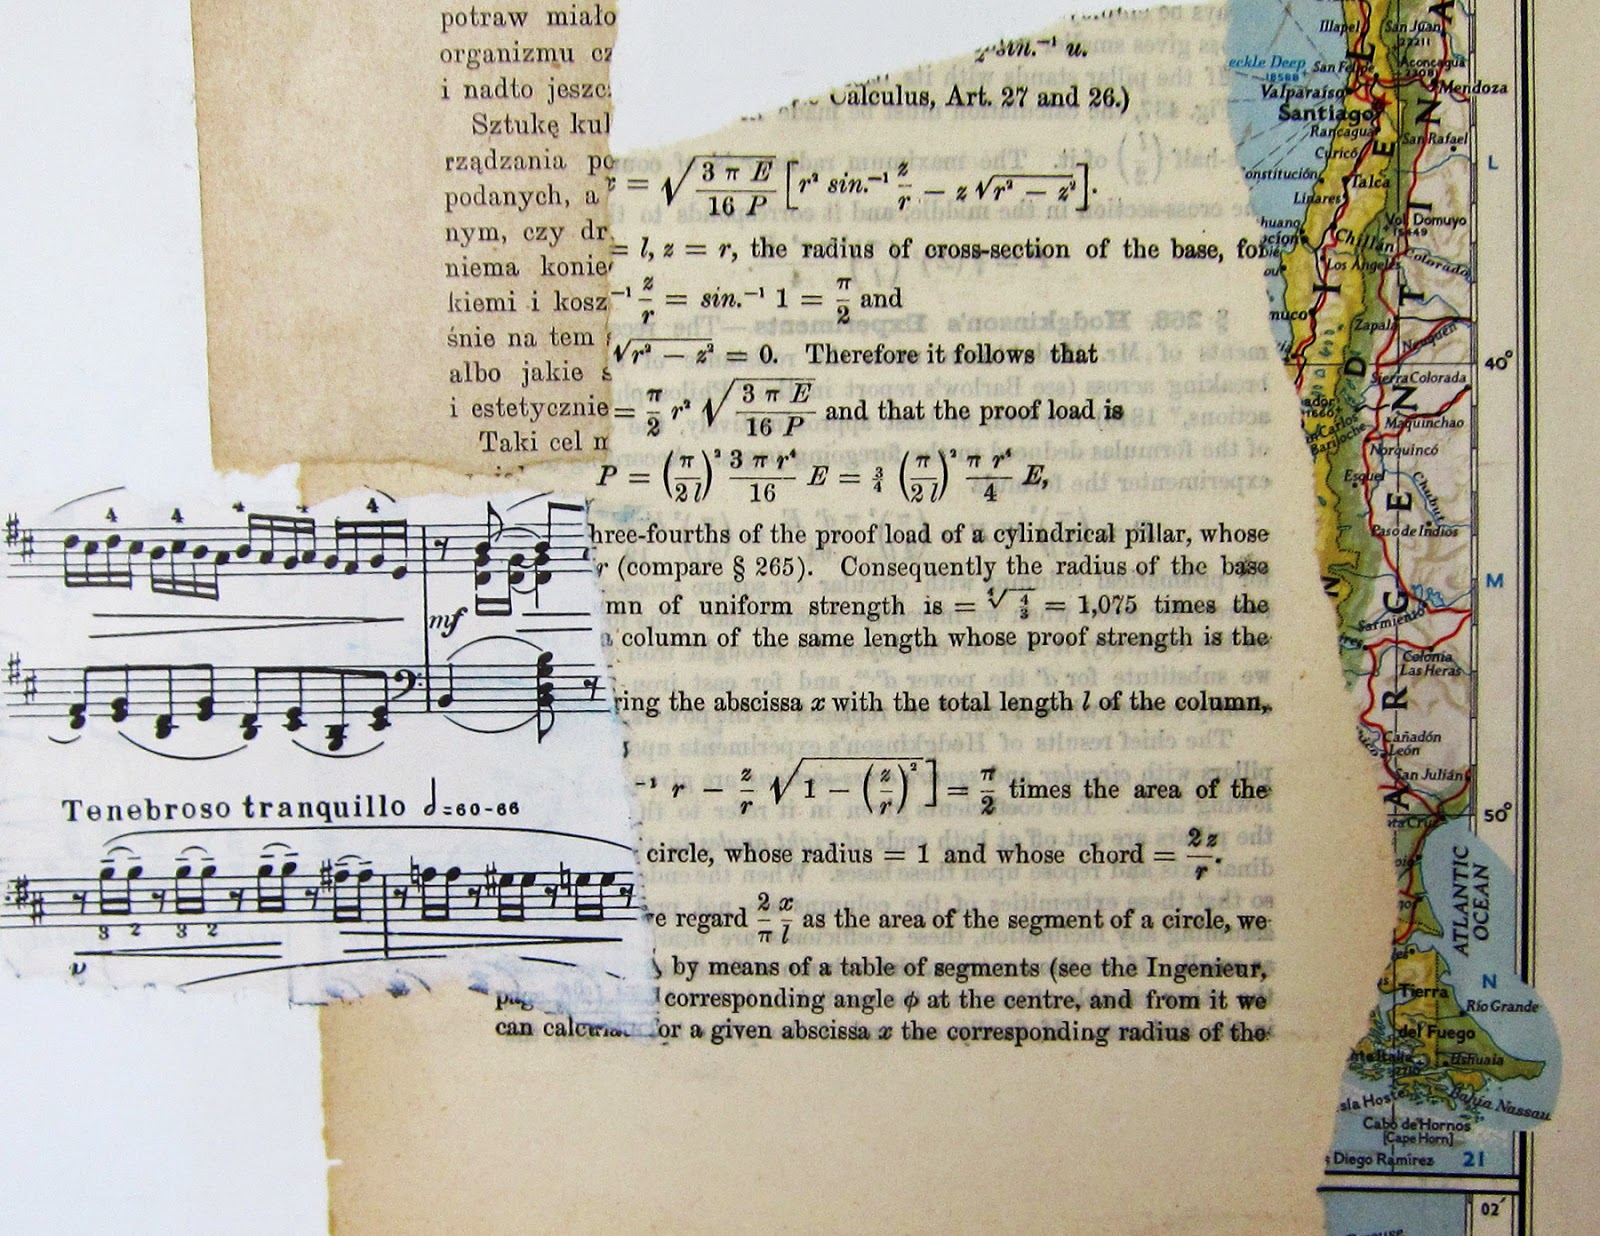
Chine collé is a printmaking technique where lightweight paper is adhered to heavier paper as it’s passed through a press with an inked plate. The result is a print on a collage. Watch this video to see how this process can be adapted for Gel printing!
If you’d like to print on fragile vintage papers, brittle book pages, or thin, delicate papers that may tear — this is your technique!

Here’s the basic process:
1. Prepare a collage of your lightweight paper by adhering thin papers to a piece of heavy paper with matte medium, PVA, or your favorite paper adhesive. When the collage is dry, you’re ready for printing.
2. Roll paint into a thin layer onto the Gelli® plate with a brayer, then add textures and marks in the wet paint.
3. Place your collaged paper onto the gel plate, rub to transfer the paint, and pull your print.

Tips:
• The papers need to have a good bond, so glue stick is not recommended as it doesn’t always hold.
• Smooth paper, such as bristol, hot press watercolor paper and mixed media sketchbook
pages will all do a great job here. Printmaking papers, such a Stonehenge or Rives BFK, are excellent choices.
• Masks and stencils are particularly effective, as they create a barrier between the paint and paper, preserving areas of the collage from being covered with paint. Ghost prints pulled on collaged paper can make beautiful prints.
• Use transparent paints where you want the collaged papers to show through.
• Opaque paints can be used to block out areas of the collaged paper, giving the print a very different look.
• You can print multiple layers and build up colors and complexity in your print.

Try this:
For great results, try this process using stencils and two (or more) colors of slow-drying paint. The objective is to print the ghost image on the collage paper:
1. Roll a thin layer of slow-drying paint onto the gel plate with a brayer.
2. Cover the plate with a stencil.
3. Cover with thin paper, such as deli paper or copy paper. Press into the holes and pull the print.
4. With the stencil still in place on the gel plate, roll a contrasting color of slow-drying acrylic paint over the stencil with a brayer.
5. Again, cover with thin paper, such as copy paper or deli paper. Press lightly and pull the print.
6. Remove the stencil.
7. Place your collaged paper on the plate, rub and pull the print. This is a chine collé print!

Experiment with layers of paint and stencils and see the different and interesting results you can achieve when printing on collaged paper! So much fun!!

For more examples, please take a look at this older blog post: “Something Borrowed”, and
check out the slideshow video of faux chine collé prints. There’s no tutorial there, just prints. And hopefully, a little inspiration!!
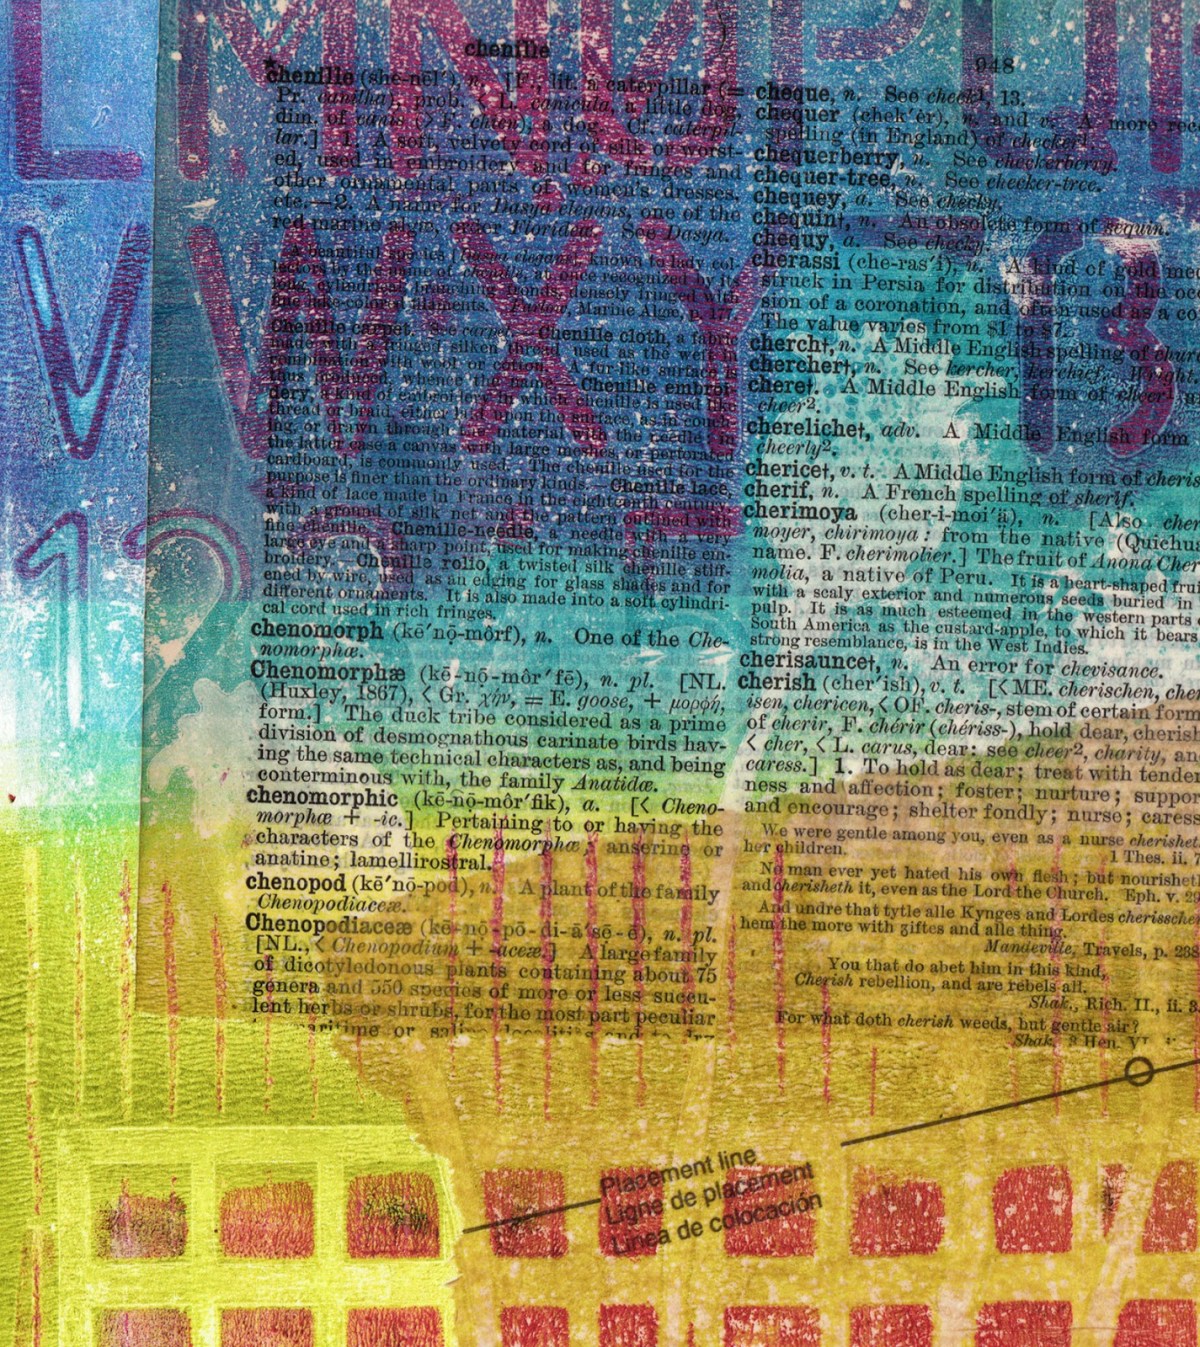
FYI: Materials used in this video:
- Colour Shaper tool (for applying gel medium)
- Stencils and Masks ( The Crafter’s Workshop, Stencil Girl, Green Pepper Press, Tim Holtz). The ‘bee’ mask was cut from Graphix Edge Stencil Film on a Silhouette Cameo — from a clip art design)
- Vintage book text, newspaper, maps, sheet music
- Various ‘found’ textures

This Contest is officially CLOSED
This months Gelli Arts® blog giveaway winner (random number generator 179) is Anne Siciliano! I felt like I was the winner when I found her facebook page…. gorgeous artwork! Congrats to Anne and we hope she shares her good fortune with us by sharing her Gelli® artwork!
And now for our fabulous giveaway – a kit with materials especially selected for experimenting with this technique!

The fabulous giveaway includes:
- 1 – 8″x10″ Gelli Arts® Gel Printing Plate
- 1 – Speedball 4″ soft rubber Pop-in Brayer
- 1 – 4 oz. jar of Golden OPEN Acrylic paint – Quinacridone/ Nickel Azo Gold
- 1 – 4 oz. jar of Golden OPEN Acrylic paint – Quinacridone Magenta
- 1 – 4 oz. jar of Golden OPEN Acrylic paint – Ultramarine Blue
- 1 – 8 oz. jar of Golden Soft Gel Medium (matte)
- 1 – Stonehenge Pad – 9”x12” – 15 sheets – 100% Cotton – 250 GSM
To enter to win, all you need to do is leave a comment here on the blog. Comments will be accepted until Tuesday, April 22nd, 2014 at 12noon EST. One lucky winner will be selected at random on April 22nd and announced here on the blog and on our Facebook page no later than April 22nd at 5 pm EST.
Good Luck and Happy Printing!
Wonderful video!! I really need a Gelli plate! If I don'win I will have to wait until August to get one♥
Love this product. Thanks for the opportunity.
Fantastic exciting blog post. Look forward to trying this technique. A win would be wonderful.
Fabulous! I've done part of this process, but I can't wait to try it all with my stencils!
The variety of ideas and uses of the Gelli Plate continues to grow. And just when I think you have shown us the most incredible way to use them, you outdo yourself. Thanks for the ideas and opportunity to win this treasure trove.
I just love love love these Gelli techniques!
Amazing technique, can't wait to try it. Thanks for sharing.
I just finished teaching a class yesterday on painting papers. I showed them just a few ways to make gorgeous prints using the Gelli Plate. They were all excited to get their own Gelli Plates and want me to teach a class using it. I'm so grateful for all your tutorials and look forward to finding new ways to use it and teach others to do the same. Thank you for a chance to enter this give away!!
Love this blog, and would love to win these prizes and such generous prizes they are. I love Geli art and sharing art with others too! If I win I will share with a class I teach with the mentally ill! I do this volunteer and love it so much! They would love Gelli arts as much as I do! Pick me! Sanna
Great video! Fabulous prize offering too. Gelli plate printing is the best!
Yippee, yippee,
Pick me,
Pick me!
It's always great to see more ways to use a Gelli Plate . . .
Fantastic tutorial! Thanks for the inspiration & the chance to win.
No time for housework when there's Gelli Plate Printing. Thanks for sharing the great video & different techniques and also the chance to enter your giveaway!!
Something new in Gelli World every day!
Another interesting technique to try! Thank you for the ideas ans inspiration!
Fabulous technique! Can't wait to try it!
The color combinations are fabulous. So many possibilities!
Great tutorial – I know I have watched each one! So inspiring. I like using odd papers in my art work and this video really got my juices flowing.
Very cool and something I'll have to try out. Thanks for the great video.
It amazes me how your creativity never ends with the Gelli Plate. Thank you so much for sharing this with us.
It just amazes me how many different techniques can be done with the Gelli Plate. I would love, love, love to win this contest and start trying every single one of them!
This looks fantastic and I love working with old papers,a kit like this if definitely on my Birthday list!!
Very inspiring, as are all your tutorials. Thanks so much for all the work that must go into making them.
Great tutorial, there seems to be no end to what you can do with a Gelli Plate 🙂
Great tutorial! There seems to be no end to what you can do with a Gelli Plate 🙂
I would so LOVE to win this Gelli plate. There are so many things I have seen that I am dying to try but I don't have one. 🙁
I can't believe all the things you can do with Gelli Plate
Always love seeing the new techniques – quite inspiring!!! Love Gelli plates! Thank you for this tutorial and video – what a wonderful, creative way to use vintage papers!!!
Hello! I have been researching art materials for several months, and was just delighted when I discovered the Gelli Arts products! I have watched many of your excellent videos on YouTube, and have been amazed at the creativity of your designers! Thank you for an excellent product, and for your informative website. I borrowed a friend's Gelli Plate today, and had great fun with it – my desk is now covered with my first trial prints! I have only been using very inexpensive Decoart acrylics and a hard rubber brayer, so my results have been interesting but not wonderful. I checked your YouTube channel again, and saw that you were using a soft rubber brayer, so I will make sure to buy the correct brayer. I also noted that you were using Golden fluid Acrylics, and I almost swooned when I saw the gorgeous colours that you were creating when mixing Quinacridone Magenta and Teal – oh wow! I would be just delighted and so grateful to have my own Gelli Plate, and Golden Acrylics to create art. I have found that the creation of art, although I am new to this journey, to be very soothing for my soul during times of difficulty and family illness. I have been planning to share my lifelong love of art appreciation, and my newfound joy in the creation of art, with others by giving small classes for seniors at a local nursing home, for children in a local neighbourhood organization, and at a mental health residence in my city. I will be helping participants simply have fun and create art for the simple joy of creation, and I am intending to include Gelli printing! Thank you so much for creating a wonderful product. I also appreciate the fact that Gelli plates are vegan (ie. not made from animal-sourced gelatin!) Best wishes and Happy Easter, Pamela Richardson, in Ontario, Canada (My Google name is Pamela Rainbow!!)
I have Easter Sunday off (tomorrow) and am going to give this a shot. I think the effect is wonderful. Thanks for sharing, Love the look of the giveaway too 🙂
This looks fun! Great video. 🙂
I enjoy the blog and videos very much! I'm always interested in learning a new technique. I would very much enjoy winning this giveaway too. I have never tried Golden's products and would really like to. I would also love to have a real Gelli Plate! I hope I win, but congrats to whomever does.
All your videos are wonderful for actually seeing the potential in a Gelli Plate rather than just reading about it.
Fabulous ideas!! Can't wait to try them
Fantastic. I have some mulberry paper with gold bits in it which is way too thin to use on its own. Looking forward to using this technique.
WOW… love your tutorial… I am dying to give gelli printing a go as have some wonderful friends who are always doing gelli prints and they have so much fun and are creating gorgeous artworks… feeling lucky 😀
There seems to be no end to what you can do with a Gelli Plate 🙂
There seems to be no end to what you can do with a Gelli plate!
Carol
carol at carolann.com.au
thank you for the give away! let's try it!
Oh wow I had no idea that you could create stuff like this with a geli plate. How wonderful. THanks for the chance to win a prize 😀
I think I like this technique the best so far, but it is truly hard to pick as they all produce great prints. Such great ideas, yet again. Thank you.
Just in time for a weekend of play. Fab.
Really interesting technique and I love your sense of colour combinations. As a musician I am also intrigued by the music you use on your vidoes – do you have a list somewhere of what they are?
These prints are sooooooo beautiful. I've never produced anything vaguely like them. I could learn a lot using this technique with my collages.
So much fun to do with Gelli Plates! Thanks for the inspiration!
That is a meeting of all my favorite things! Would love access to golden open acrylics too ! ��
<3
I am going to try this weekend! I have lots of old book pages to use for this tutorial!
Oh My Gaaaaad! I am chomping at the bit here!. I LOVE this!
I have never had a gelli plate but have been lusting after one for a while now. Now I've seen this technique, I think I would be in danger of sitting at my desk playing for one week straight before coming up for air and remembering… you know, to eat and things! eeep. Fingers and toes firmly crossed. :o)
As a longtime printer, I found this tutorial to be quite inspirational; thank you! Though I have never tried Gelli, watching this video surely more than sparked my interest! I was very excited to see all the numerous options that this process provides and was taken with the chine colle! Very nice indeed. It would be so lovely to win the prize and a great way to get my feet wet as it were ….. though I am sure to try it regardless as I can see the potential – it's boundless! Cheerio!!! Widens the field of printing and art making – the sky is the limit!