Swap out your brayer for some paintbrushes and create a painterly layered Gelli® print! To see how easy and fun it is … watch this video!!
The painterly approach to monotypes can range from loose and spontaneous to structured and carefully planned … and everything in between. In other words — this technique is for everyone!!
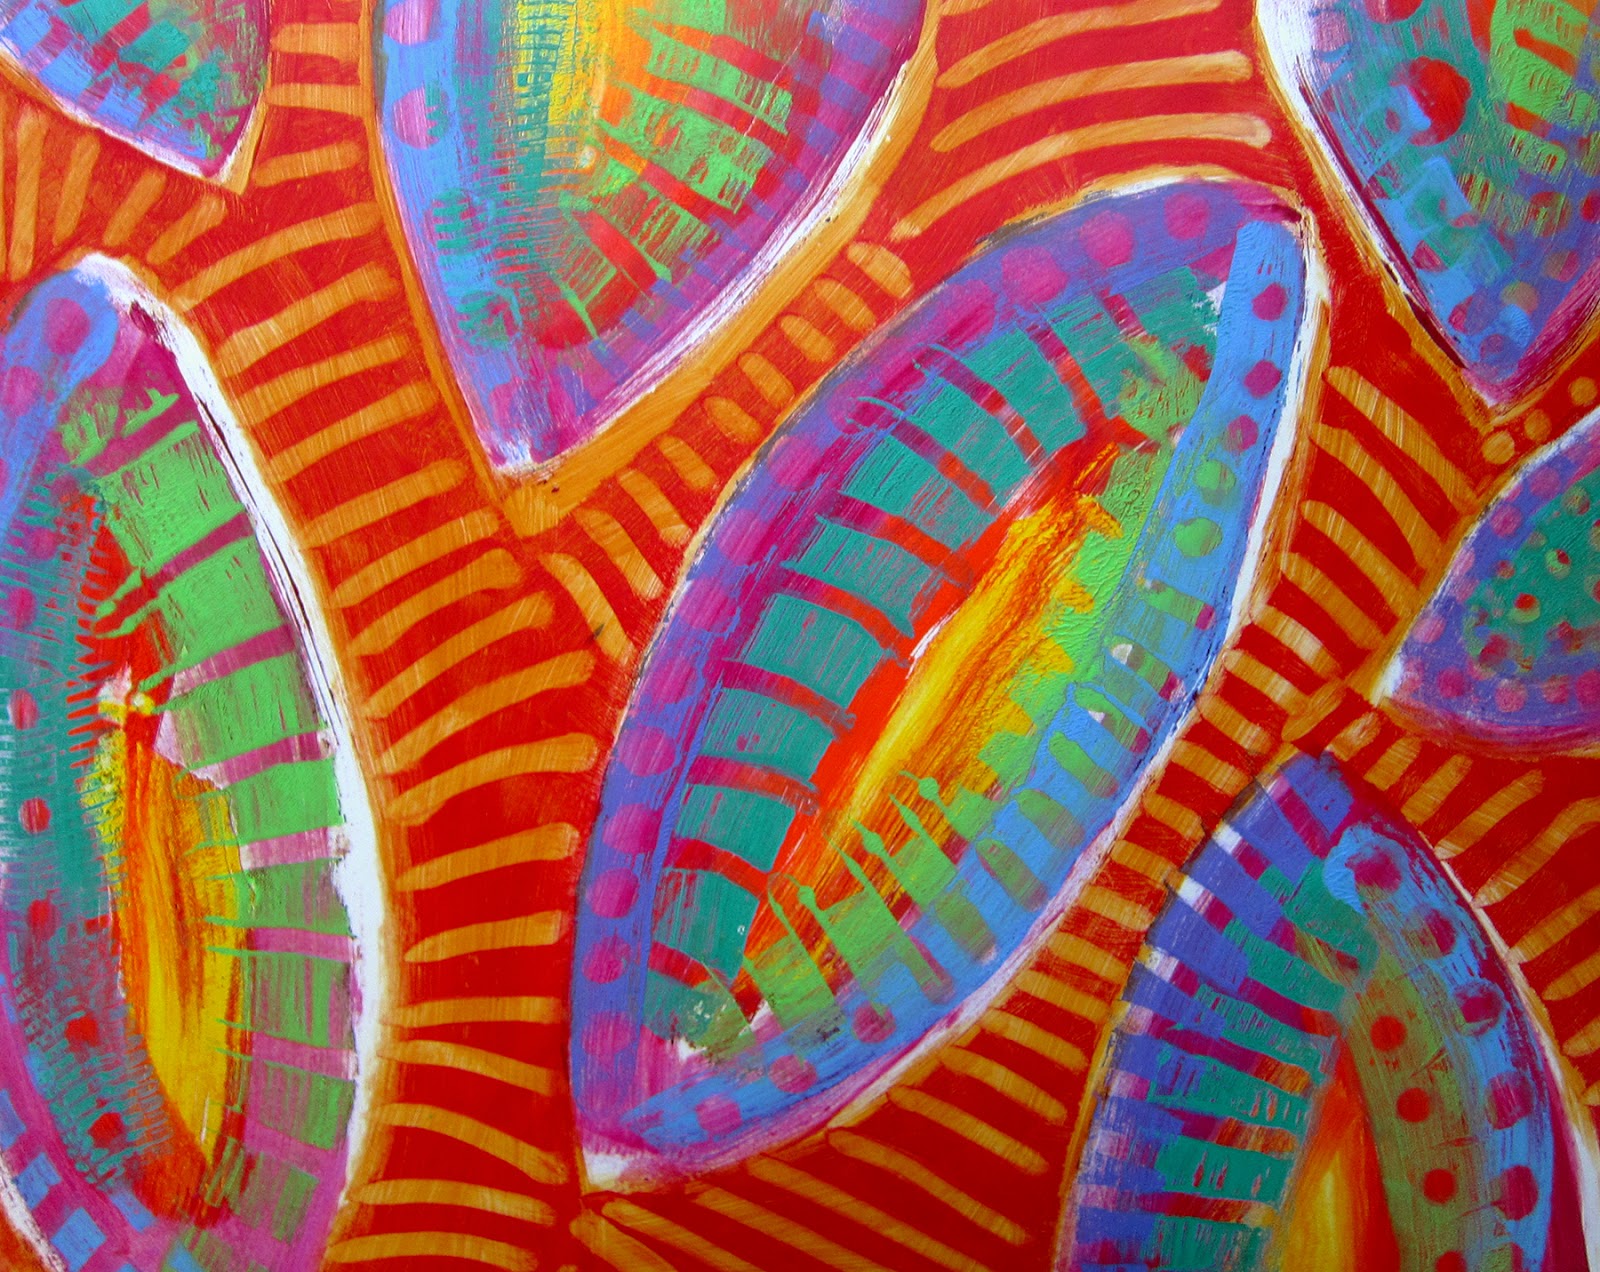
From abstract to representational, the painterly print provides unlimited possibilities for creating an image by building layers of brushstrokes and textures.

Here’s how!
- Start by applying paint to your Gelli Arts® gel printing plate with a brush. A thin layer is best — thick areas of paint will print as blobs! For this technique, you want the beauty of the brushstrokes to come through.
- Then, simply keep building on the image. Apply paint to select areas of the plate and pull your print. Keep doing this with additional layers on the same print until you’re satisfied with the image.
- The residual paint on the gel plate serves as a guide for the next paint application. It should be pretty easy to see where you may want to add color and texture in each subsequent layer.

Tips:
- For vibrant colors, allow the print to dry between layers. That will help keep the colors from mixing and getting muddy.
- When using cotton swabs to wipe out lines, shapes or dots on the plate … it’s easier to remove paint if the swab is dampened first with water.
- You can apply paint to select areas of the gel plate for each layer. There’s no need to cover the entire surface of the plate on each layer.
- To register your print, it helps when the gel plate is sitting on a piece of paper the same size as your printing paper. That way, you can visually align the printing paper with the paper under the plate. It’s not precise, but it’s usually close enough.
- It’s a good idea to mark the top of the back of your printing paper with a pencil mark. That way, you won’t have to figure out the correct orientation of the paper as you print each layer.
- Consider the transparency and opacity of the paints you’re using, as that will greatly impact the appearance of colors as they print over one another.
- This painterly technique gives you the opportunity to be very deliberate in applying each layer. When looking at your print and deciding what you want to add in the next layer, keep in mind that what you paint on the gel plate will print reversed (mirror image).
- If you want to develop your image slowly — use a slow drying paint, like Golden Open Acrylics. Adding Golden Open Medium to acrylic paint will extend the working time of the paint.


FYI … Materials used in the video:
- The paints used in the video are Golden Heavy Body Acrylics with Open Fluid Medium (Matte) added to them. The paints used in the background/negative space are Golden Open Acrylics.
- The print in the video is on 11″x14″ Strathmore Bristol (vellum surface) … and printed on a 12″x14″ Gelli Arts® Gel Printing Plate.
- The brushes used in the video are Princeton Catalyst Polytip Bristle Brushes.
Painting directly on the gel plate with paintbrushes has a wonderful ‘feel’. Try layering painterly images and brushstrokes and see for yourself!

AND … we have a very “BIG” GIVEAWAY!!
This Contest is officially CLOSED
- One (1) — 12″x14″ Gelli Arts® Gel Printing Plate!
- One (1) — Gelli Arts® Apron printed with the official “Addicted to Gelli” badge!
- Four (4!!!) — Princeton Catalyst Polytip Bristle Brushes!

How To Enter Our Random Drawing for this Giveaway!
- Leave a comment below on this blog post! Helpful hints:
- Click in the comment box to leave a comment (scroll to the bottom of the comments to find the box!)
- Or, click on the “# of comments” next to “published by Joan Bess” to make the comment box appear!
- Leave your comment now 🙂
- Comments will be accepted until Monday, Jan 20th at 12:00 noon EST.
- One comment per person — please!
- Not required… but PLEASE share your passion for printing with Gelli Arts® by tweeting, posting and pinning this fabulous tutorial and giveaway! We appreciate it all!
One lucky winner will be chosen by random drawing on Monday, Jan 20th after 12pm EST and announced here on the blog AND on our facebook page no later than Monday, Jan 20th at 5pm, EST.
This Contest is officially CLOSED
Thanks to Princeton Brush and Willow Wolfe for supplying the fabulous brushes for our giveaway! Good luck … and Happy Printing!!
This technique looks awesome. I need to try brushes. Thank you for the tutorial 🙂
I just keep learning …
Best video I have seen yet showing how to do layers! Thanks. Oh and yes I would love to be your pick for the geli plate and tools.
thank you for this. I have ideas galore. Will let you know. Would love to win the package
Love Gelli plates, and the tutorial is great.
Loved this video! Time to get out my Gelli Plate and start creating!
I've been wanting a gelli for so long!! Everything I see just makes me drool and my hands itch to play! Maybe once my hubby gets back from his current deployment I can justify the cost. Such beautiful artwork! Thanks for the inspiration and the giveaway!! Ohh – *pick me*pick me* :0)
So VERY inspiring and just when I most needed it. I'll be heading out to pick up the larger plate tomorrow along with packing tape. Thank You for creating the Gelli Arts!!
FABULOUS! I love these techniques! Hooray for brushes, paints, and exciting layering! Thank you for sharing your Gelli Plate talent and inspiring us to PLAY in a new way. 🙂
This looks like the best technique yet !! I love it. Thank you
Love the more textured look achieved with brushes! What a great giveaway, too!
So pretty! I am crossing my fingers…
I can never get enough new ideas for using my Gelli plates…thank you
I love gelli printing and I love how this technique turned out. It's fabulous. I would love to win this prize, thanks for the chance.
Just saw my local Jerry's Artarama has the Catalyst tools and brushes. Can't wait to try this painting on my Gelli. Thanks again for sharing.
Awesome painterly print! Loved the music on the video too 😀
I've been wanting a larger Gelli pad since they've first come out, I do love my small one, just think how much more fun a large one would be!
cherokeerosy@hotmail.com
WOW ! I can't wait to try this! THANKS! 🙂
The video was sooooo helpful and made the technique look very easy to do! Thank you for the chance to win!
Gelli printing is such a calming art form! Would love this large size and those great brushes!! Thanks for the chance.
Love all the uses! 🙂 So versatile.
Looks soooooo fun ..I really want to try this, thanks for sharing 🙂
Awesome video! Warning: Don't watch this tutorial right before you're headed to bed. Your brain will be swirling with great inspiration. Ha! Thanks for the wonderful ideas Gelli folks. 🙂
Very cool! I love all if the inspiration on this blog!
Wow, this tutorial is absolutely inspiring! I hope I can create something like this if I can ever afford a Gelli Plate =]
That technique is so effective, can`t wait to try it and what a marvellous give away – fingers crossed 🙂
Oh my – this looks awesome. I am new to mixed media art and have been amazed at how rich and vibrant a background you can achieve with a gelli plate.
mujaj@iinet.net.au
Thats brilliant, will defiantly give it a go. would love a larger gelli plate x
It's raining outside !! So I'm happy : I will try this afternoon, your video is just marvellous !! Thank you for the lesson. SoF de Saint-Raphaël (France).
I can't stop think about trying to paint on gelli plate, I need to find some time and go for it… oh how short weekends are…
Love this tutorial! Great look! Thank you for sharing.
Oh l wish l had a real GELLIARTS plate, my homemade gelatin just can't make the grade. This is so clever and a clear explanation of the technique. Thank for the opportunity .
Love Gelli printing and would love to win!
I tried out using brushes and painting a rose and it works and gave such a cool ghost type print on the card. Need more practice but it does open up so many possibilities. Love my gelli plate
More techniques I will have to try!! Thanks for sharing!
I really enjoy this technique! Thank you for sharing!
Thanks for the tutorial! I can't wait to try that out.
Love it good luck.everyone!
What fun! Can't wait to try!
What a clever idea! Can;t wait to give it a try!
Another fabulous tutorial! Thanks! And thanks for another great giveaway 🙂
Great video, great technique, thanks!…….
only got my plate at Christmas, so much to try with it
Difficult to win with so many already in the pot but I'll give it a try anyway because the Gelli's are just so much fun to play with. Obviously I'm not along in that thinking! 🙂 Thanks for the video, tips and a great product.
Great video, would like to try it as soon as possible, georgeous!!
That's for the tutorial. I'm loving my small gelli plate and have my eye on the big one!
Love it! Would be great to win one as I think I can't buy these in my region.
yay! gelli!
I am just starting to play with Gelli's and I really appreciate all the videos' to help me with techniques and ideas!
This looks wonderful. I am starting a two week staycation so I can experiment with all the crafty stuff my hubby gave me for Christmas. This technique is now on the list.
This is a great tutorial. Love using my Gelli plate.