Hi there and welcome to the Gelli Arts® blog!
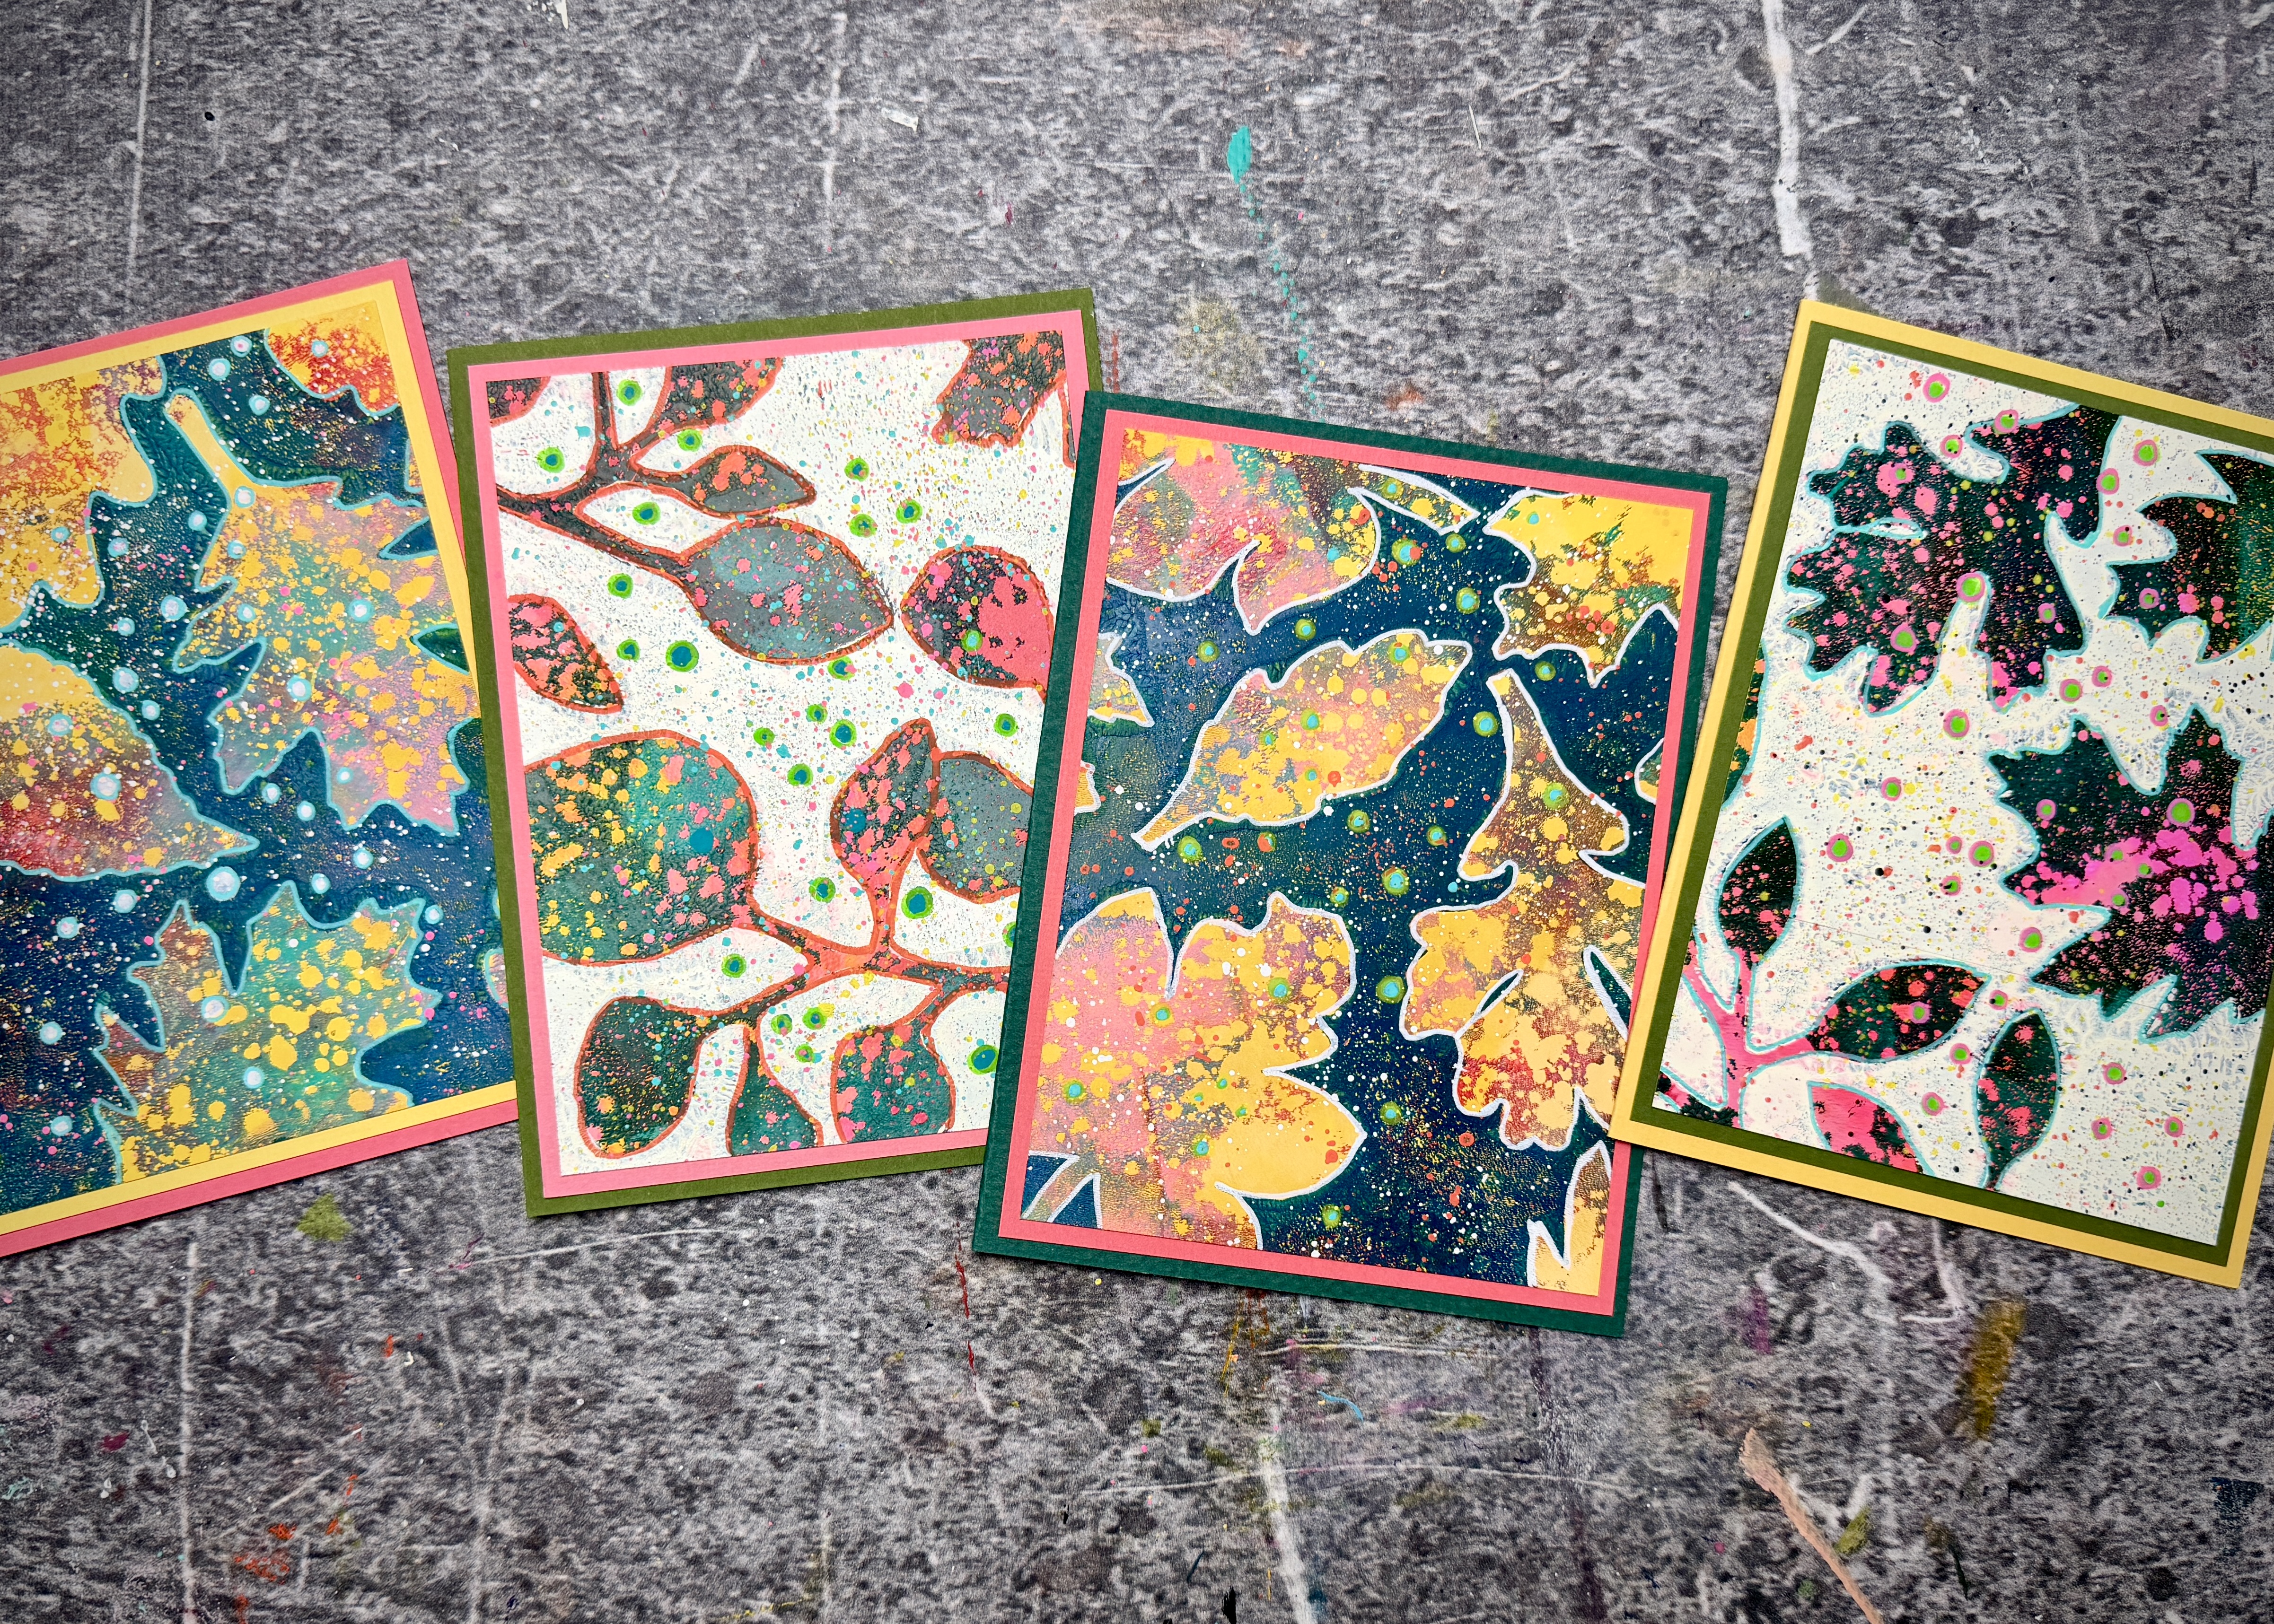
It’s Birgit here today with some fun texture printing. The main technique in this video is using baby powder to create amazing colorful textures that can be used for a variety of projects. In this case to create fall themed cards.

Enjoy the video!
How to:
First, create a colored base or use any solid colored print from your stash. When creating a base, especially for this cause, you can use a placement tool to line up the second layer in the exact right position. No need to get the print exactly in the middle of the paper, as you will cut it up anyway!

Roll out some acrylic paint, preferably in colors contrasting with the colors on your base. Sprinkle baby powder on top of the wet paint. Big blobs of powder will result in larger open areas. More detailed texture comes from smaller amounts of powder spread around the plate.

Place the colored base on top of the wet paint. If you have used the placement tool for the base, then use it again now to get the second layer lined up. Rub well, then lift up the paper.
Excess baby powder will stick to the paper. First, let the paint dry, then use a paper towel to remove the thickest layer of baby powder. Collect it in a bowl to use it for a next print. Then use baby wipe or a wet cloth to remove the last bit of baby powder and make the colors pop.

The baby powder acts like a mask. Where the powder is, no paint will transfer to the paper. This paint stays on the plate underneath the leftover baby powder. So, apply a new layer of paint on top of that baby powder on the plate. Then, place a sheet of paper on top and let everything dry.
The baby powder will be stuck between the first and the second layer of paint. When you line up the paper you will have not only visible – but also actual texture.


Die or hand cut leaf shapes from paper or acetate and use them as masks.

Apply the masks to your print using a repositionable adhesive. Roll out a solid layer of acrylic paint and place the masked sheet of paper on top.
Rub well, then lift up the paper and remove any stuck shapes, then let the paint dry.


To create the cards: fold colored cardstock into the preferred size.
Cut a mat that is just a bit smaller than the card in a contrasting color and apply this to the card using double sided tape.
Cut up the leaf prints, making them just a bit smaller than the mat on your card. If you like, you can add outlines and marks to your prints using paint markers. (I’m using Posca but any brand will work.)
Then, apply the prints to the front of the folded cards. You are done!(Optionally, you can add a sentiment to the card.)


Please share your projects with us! Tag us on social media @gelliarts and use #gelliarts so we can find your posts!
Happy printing and have a lovely day! Make it colorful 🌈
-Birgit
Materials:
8”x10” Gelli Arts® gel printing plate
Brayer – Speedball soft rubber
Baby Powder
Acrylic paint (I’m using Ara but f.i. Amsterdam or Liquitex work great too)
Smooth cardstock or heavy copier paper
Colored Cardstock to create the colored cards
Double sided Craft Tape
Acrylic Paint Markers
Hand or Die Cut Leaf Shapes
Cutting Supplies
NOTE: Some baby powders still contain talc. This is not healthy to breathe in so check the label on the packaging to see if the baby powder is talc free.

Find us:
FOLLOW US:
Sign up to receive emails + special offers from Gelli Arts®
Love your work- initially anxious about use of “baby powder “ however glad to know about the danger of using “talc”
Thanks, Beautiful idea. Question…will any powder work? Mine says no talc.
Thanks for watching! Yes, you should be good to go! Most baby powder is made from corn starch these days, but definitely check out ingredients!
Can you do a video tutorial on this? Thank you
Hi Edith! All of these tutorials come with a full YouTube video tutorial – it should be linked here right inside of the blog towards the beginning!! Here is the direct link to the YouTube: https://youtu.be/8CdQKQv8uMo
Happy printing!!
Can you send link to the placement tool
Thankd
Sure! Here you go: https://www.gelliarts.com/collections/printing-tools
Has anyone tried this on fabric?