
Hi there! Marsha here today, sharing a fun summer activity you can do with clippings or weeds from your garden.
Watch the video below to see how I use tissue paper from the Gelli Arts® Journal Kit to create botanical prints, and in the second part, I will share how I make a tissue paper collage:
Or click here to watch YouTube tutorial : https://youtu.be/g-wkz_XUezI
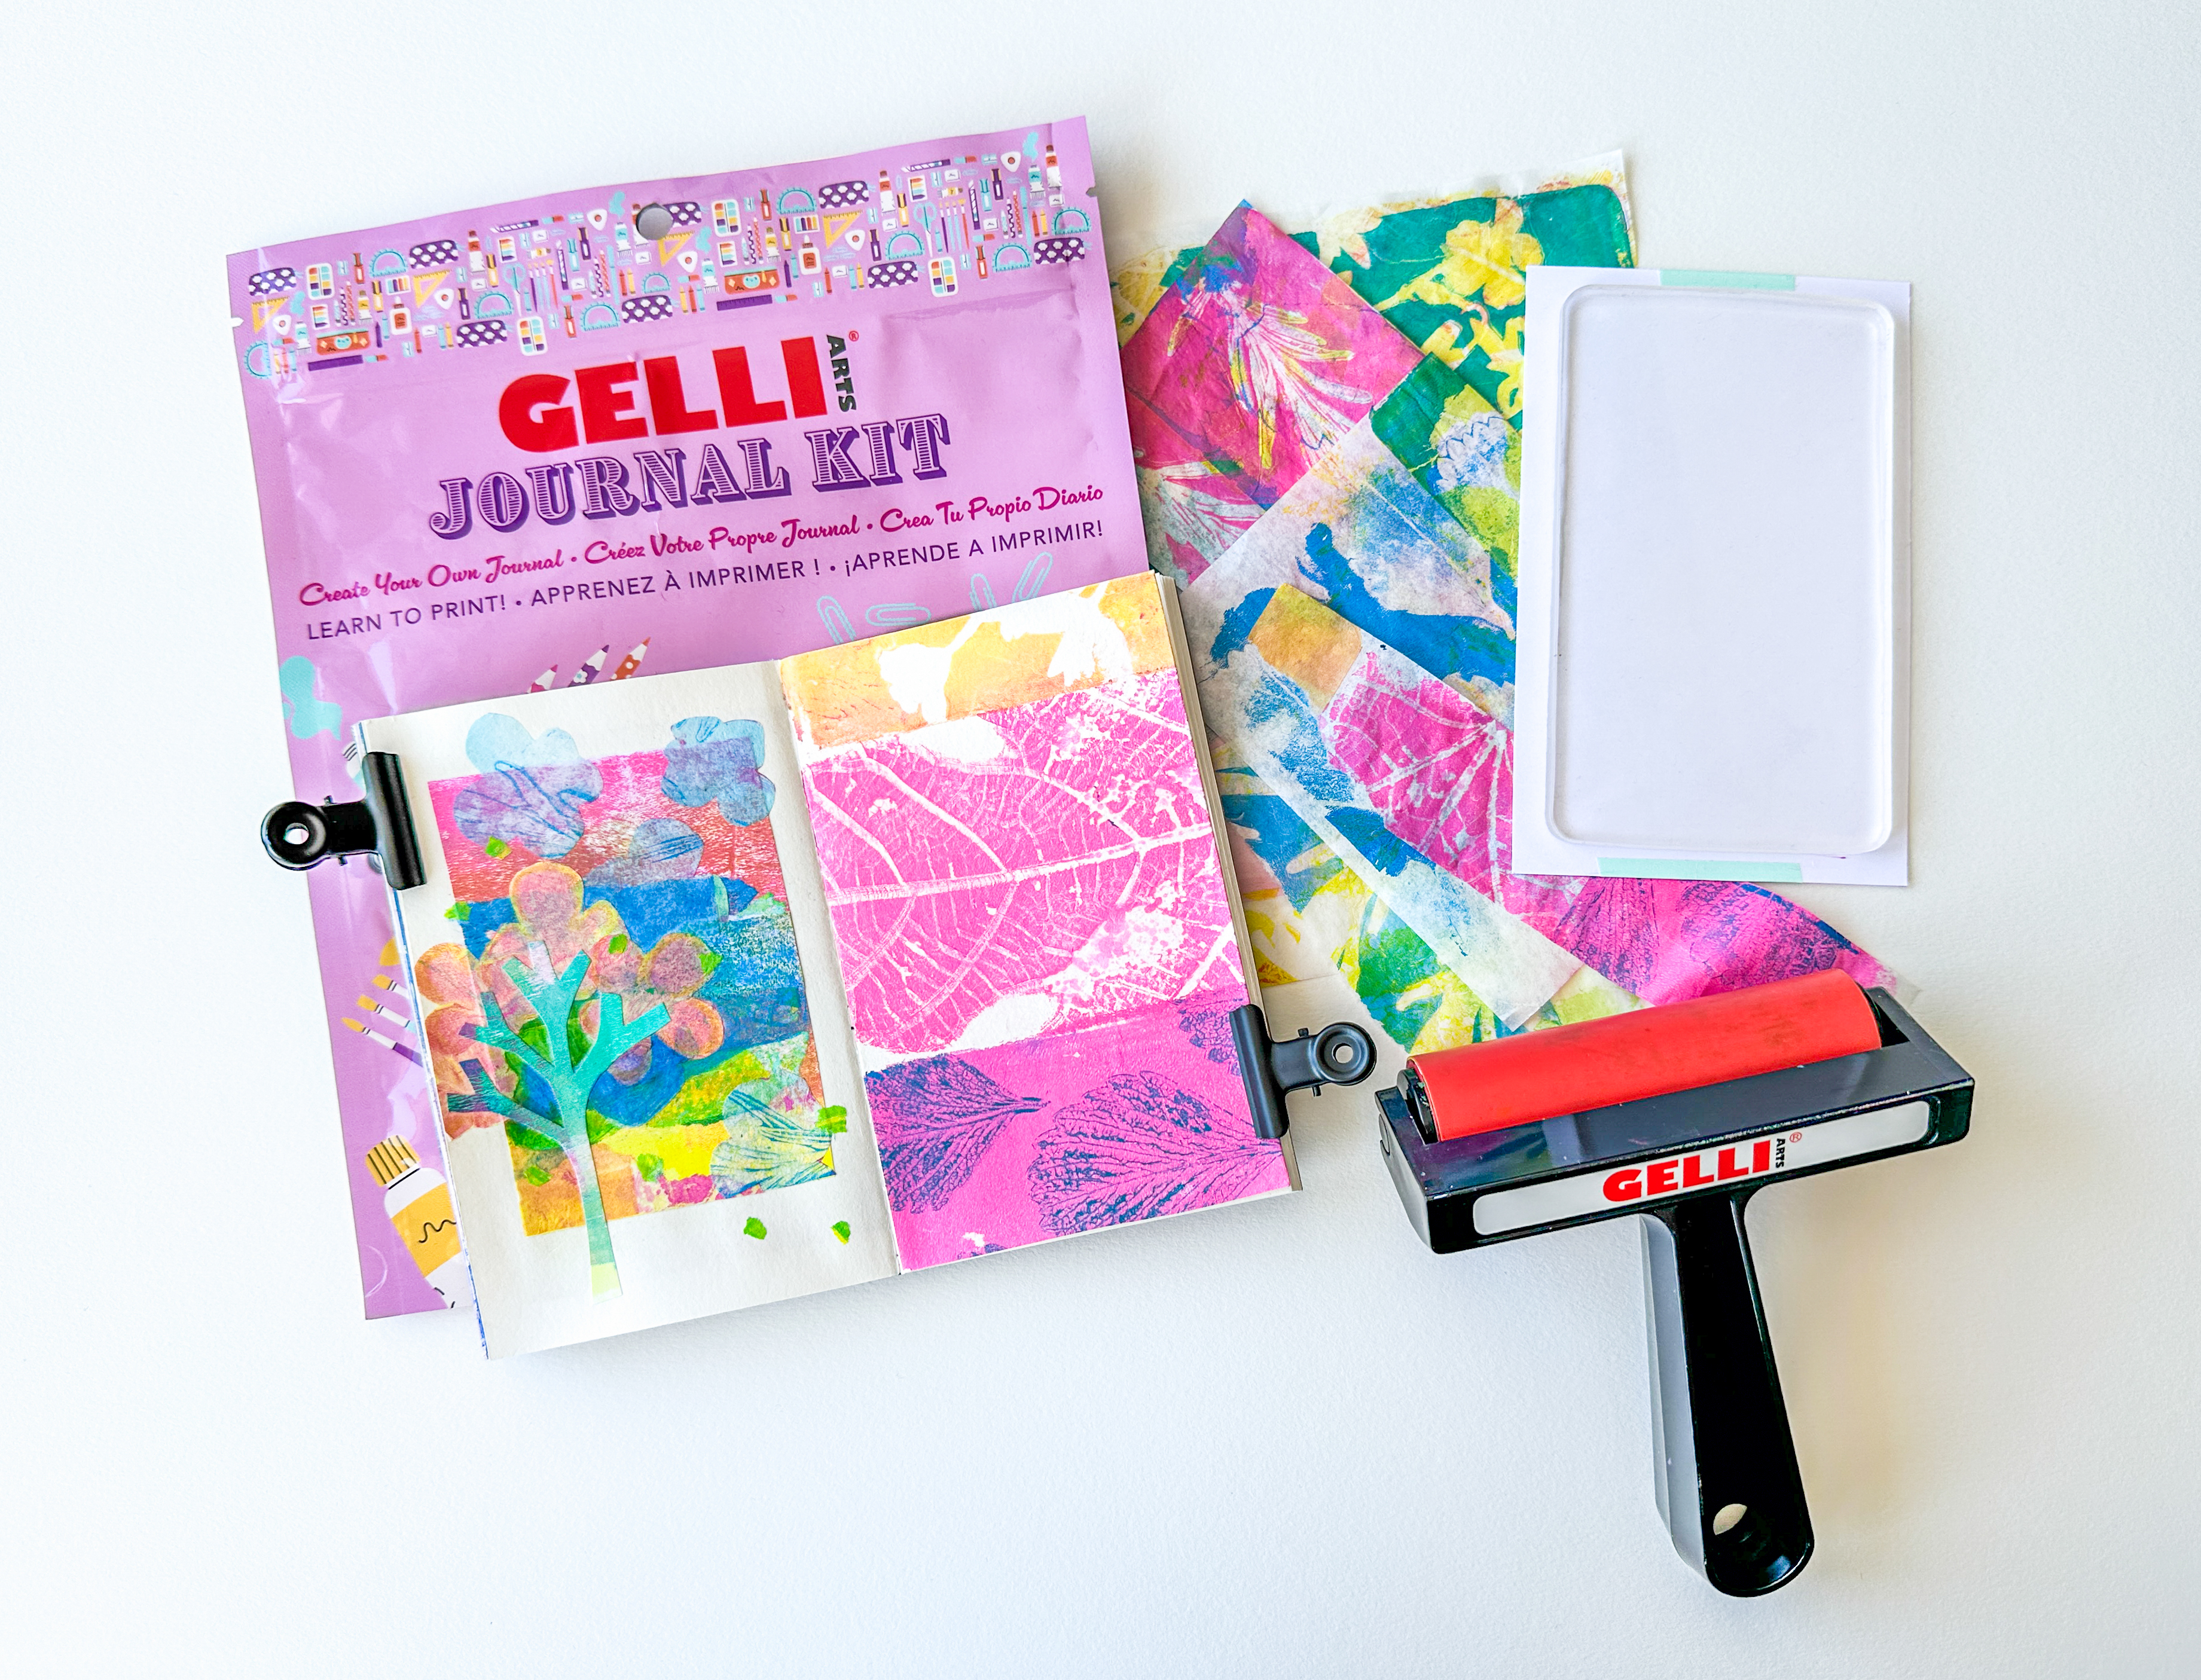
In the video, I’m using the new Gelli Arts® Journal Kit, which comes with everything you need to start gel printing in a journal. The only additional items you’ll need are acrylic paint and, optionally, matte medium.

This kit is the perfect small art kit to gift someone who wants to start creating in a journal, but doesn’t know where to begin.
It includes a card with a QR code that you can scan to access downloadable instructions and an extensive and exclusive step-by-step video tutorial by me, Marsha Valk.

Tips for successful botanical gel prints:
- -Place the Gelli® plate on a smooth and flat surface.
- -Forage the garden for clippings or even weeds.
- -Be mindful of any water left on the plant matter. Water drops can cause the acrylic paint on the plate to separate. This will result in a loss of detail. However, if you’re after a more distressed look, you may not mind it at all.
- -Roll out a thin and even layer of acrylic paint on the gel plate. A thin layer of paint typically results in better, more detailed prints.
- -Carefully place some of the plant matter on the wet paint to avoid creating unwanted marks.
- -Carefully place (tissue) paper on top, pressing the plant matter down and at the same time making sure all of the paper comes in contact with the exposed paint.
- -Paint can sometimes seep through thin papers, such as tissue paper. If needed, use scrap paper to prevent paint from getting on your hands.
- -For more detail, place the leaves vein side down on the plate.
- -Ensure the tissue paper feels dry before you pull it up. The tissue paper provided in the Gelli Arts® Journal Kit is very sturdy; however, not all tissue paper is the same, and some may tear when still damp.
- -Don’t despair if your paint dries too fast to pull a satisfying print. Pick up any dry paint with a new layer of acrylic paint or matte medium.

Tips for collaging with tissue paper in a journal:
-Place grease-proof paper between the pages right before and after the spread you’ll work on. This protects the other pages from paint and glue.
– Keep the ‘roller-clean-up-paper’. This can also be excellent collage fodder.
-Use matte medium to glue and seal tissue paper. The matte medium will make the tissue paper appear translucent to almost transparent.
-Wait until the pages are completely dry before you trim away any excess tissue paper.
-Once the collage is dry, you can enhance or alter the look with other media, such as coloured pencils or markers.
-A journal page is done when you’re happy with the result!

Happy botanical gel printing!
Marsha.

Materials:
Other:
Clippings and weeds from the garden
Acrylic paint
Scrap (copy) paper
Matte medium
Brush (for glueing)
Scissors
Optional:
Coloured pencil
Markers


FIND US:
FOLLOW US:
Sign up to receive emails + special offers from Gelli Arts®
Adore this tutorial! Am just getting back into art as I face some serious medical issues. Taking a gelli plate with me sounds like fun!
So glad to hear Gelli Arts can be a source of joy for you during your medical issues! Wishing you the best!