


Hi
there and welcome to the Gelli Arts® blog!
It’s
Birgit here and today I want to show you how you can easily pimp your apron in
a few steps. And… NO sewing involved, everybody can do this!!

So,
let’s start with what you need.
I
used the Gelli Arts® Patch Printing Kit which includes almost everything you
need. A Gelli Arts® gel printing plate, a brayer, a variety of patches, acrylic
paints, fabric medium and printing materials. Besides that, I used the small
round plate from the mini shapes set and some additional Gelli Arts® acrylic
colors.


I
started with adding color to the patches using the gel plate from the kit.


Then
I applied the small round plate to an acrylic block and added a white circle to
every printed patch. I printed 2 layers for a nice coverage.

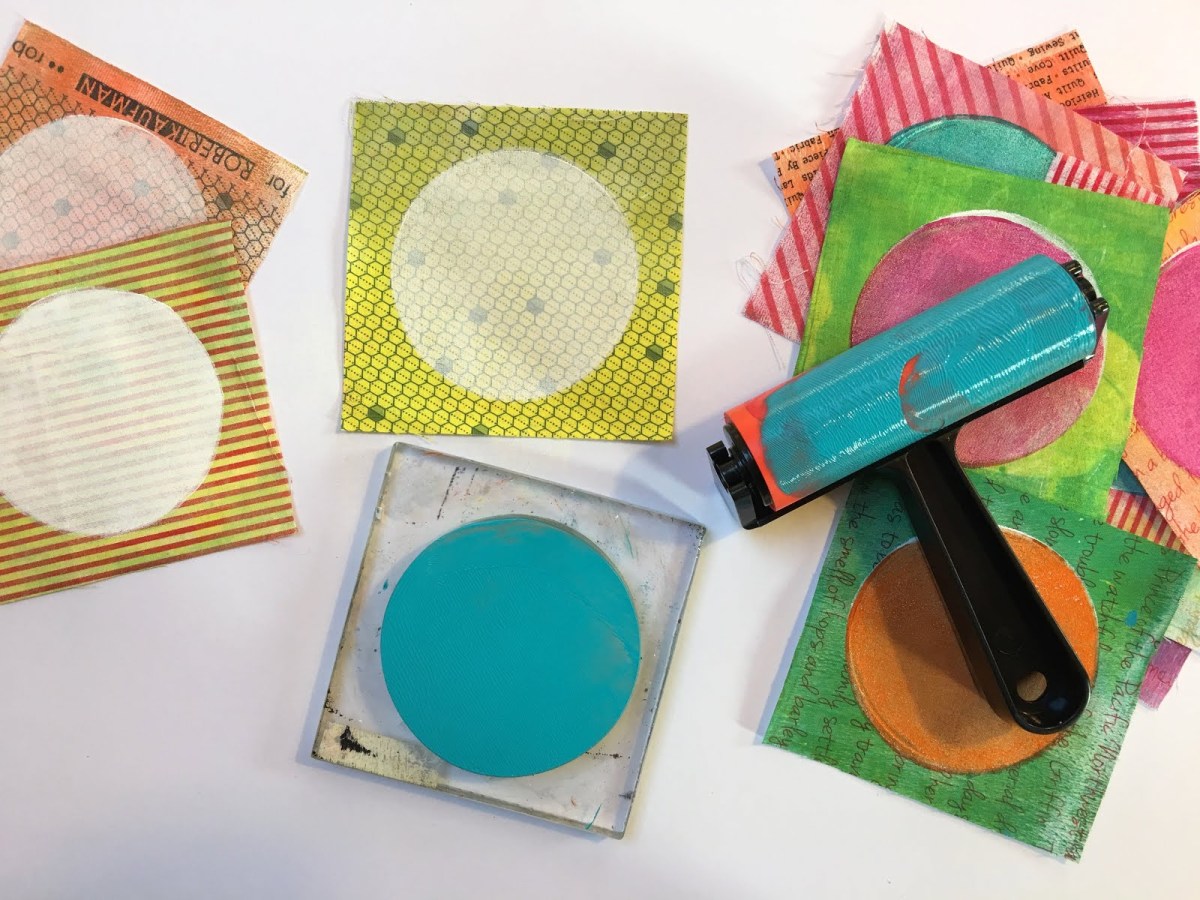
I let
the white paint dry and then added colors on top of the white circles, again
using the small round plate.

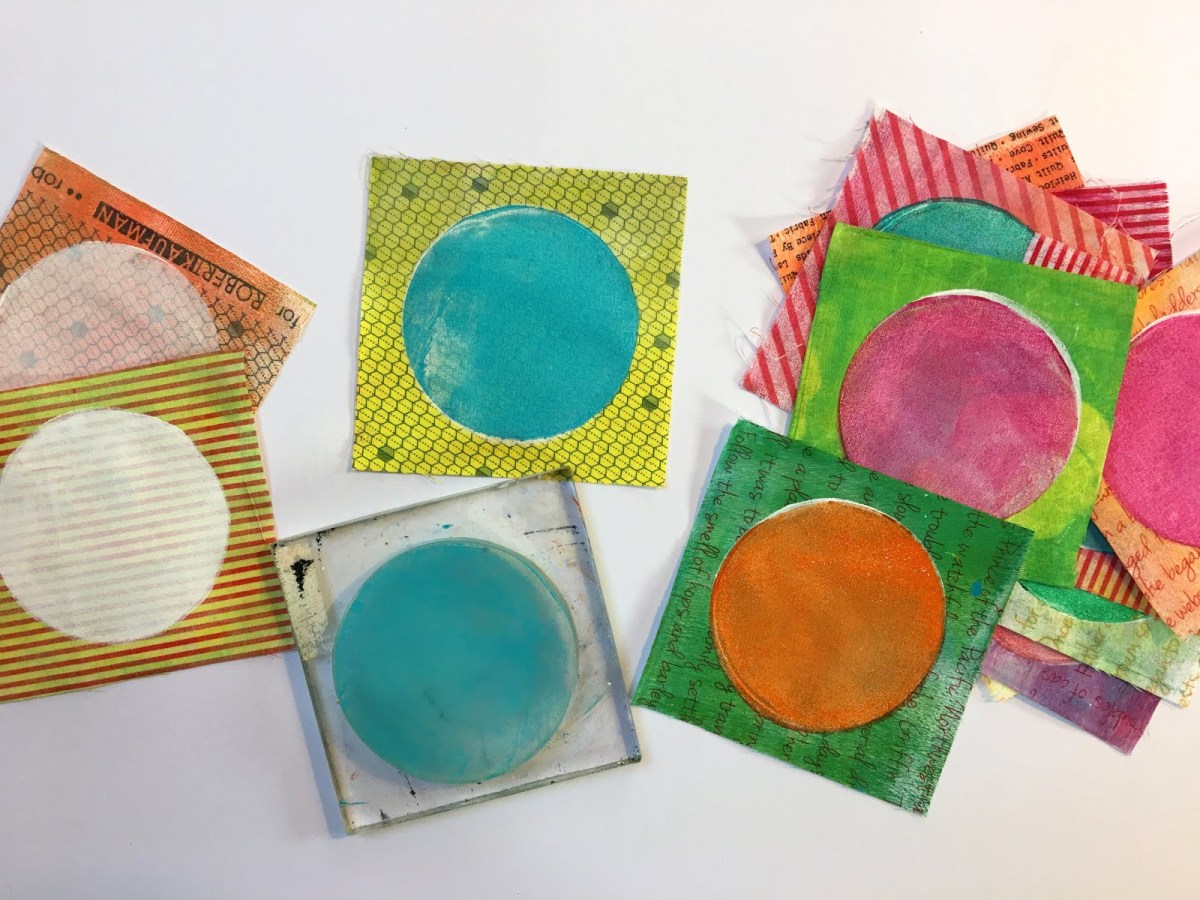
After
that I used the printing material from the kit to add a variety of texture and patterns
to the printed circles.


When
all the paint was really dry, I ironed fusible web on the reverse side of the
patches (follow instructions on the packaging) and then cut the patches if
necessary to the right size.

I
made a nice composition on the apron and when I was satisfied I ironed the
patches with the fusible web back to the apron.
I
started at the top of the pockets to make sure I got it all lined up nicely.


After
applying all the patches I decided it needed something more and I created a
“lace” border at the top of the patches using a foam stamp and acrylic paint.

I
finished the apron by adding faux stitching using a paint marker.


I
hope you enjoyed this tutorial and I would love to see your gelli printed
aprons!
Wishing
you happy Holidays and a colorful, creative and inspirational 2018!
© 2018 by Gelli Arts®, LLC Philadelphia, PA
All rights reserved.