


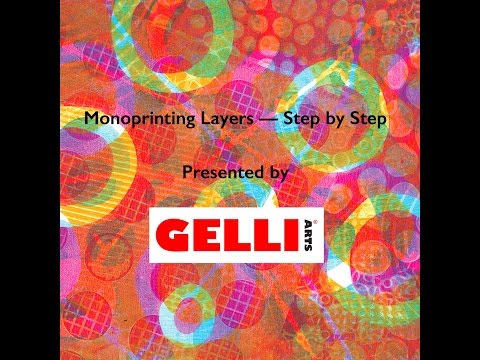
There’s something curious about monoprints created from multiple layers. They draw you in — inviting a closer look to decipher “how” they were created.
Watching this video will demystify the process! Here we go, layer by layer… so easy!
TIP: To get an approximate registration when printing consecutive layers …
Place your Gelli® plate on a piece of paper that is the same size as your printing paper. Use this as a guide. When you are ready to place the printing paper on the Gelli® plate, line up the edges with the paper under the plate.
You’ll notice I’ve taped the paper under my Gelli® plate to the craft sheet to keep it in place on my work surface 🙂
To help visualize the effect of one color over another, I am using Golden Open Acrylics in highly transparent colors for this demonstration. Using masks on each layer creates the complexity in the image. (for a tutorial on masks, please take a look at my previous blog post, “Who Was That Masked Man“)
This time I’ve cut some very simple “donut” shapes from Tyvek to use as masks. Tyvek is a perfect mask material: thin, strong, easy to cut, and reusable. Shipping envelopes are a good source for Tyvek, so save them! Cutting your own masks is a great way to upcycle those envelopes!
This process yields two multi-layered prints. One print is the layering of each paint color. The other is a layered ghost print of each layer. Very different effects!
Hope you have as much fun making layered prints as I do!